
Disclosure: As an Amazon Associate, Veranoz earns from qualifying purchases. We may earn a commission if you buy through links in this post, at no extra cost to you.
This eyebrow makeup tutorial takes you from bare brows to soft, natural-looking definition in about five minutes: brush the hairs up, map where your brow should start, arch and end, draw a light line along the lower edge, fill sparse spots with tiny hair-like strokes, keep the front softest and the tail most defined, then set everything with brow gel. Choose a shade that matches your brow hair or goes one shade lighter if you have dark hair or gray brows, and use a fine pencil for strokes plus powder for softness. That combination looks like real hair rather than a drawn-on shape, which is exactly what flatters sparse brows.
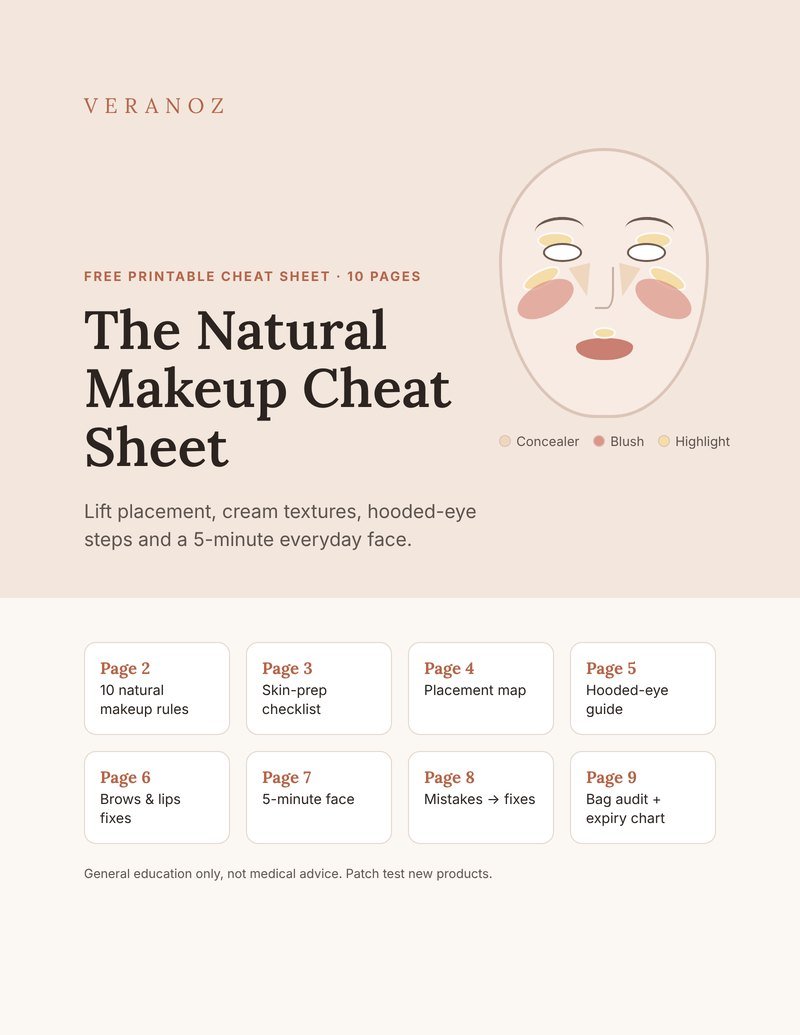
Free: the Natural Makeup Cheat Sheet
Where to place blush and highlighter, a hooded-eye guide, a 5-minute everyday face and a makeup bag expiry chart, on 10 printable pages.
Free. You will also get a few short emails with tips and offers. Unsubscribe anytime. Privacy policy.
Below you’ll find brow mapping step by step, how to fill in eyebrows with a pencil, powder or pomade, how to pick a shade (including for gray brows), adjustments for sparse or thinning brows, quick fixes for common mistakes, the tools worth having and how to keep brows healthy.
The Real Problem
Brows change quietly. Years of tweezing, natural thinning and gray or white hairs can leave brows with shorter tails, gaps and less color than they used to. The usual fix, a dark pencil and a solid outline, looks harsh and heavy. Most brow tutorials are filmed on full, dark, 20-something brows that only need a quick brush. Sparse, lighter or graying brows need a different technique: lighter pressure, softer color and strokes placed exactly where hair is missing.
Short Answer
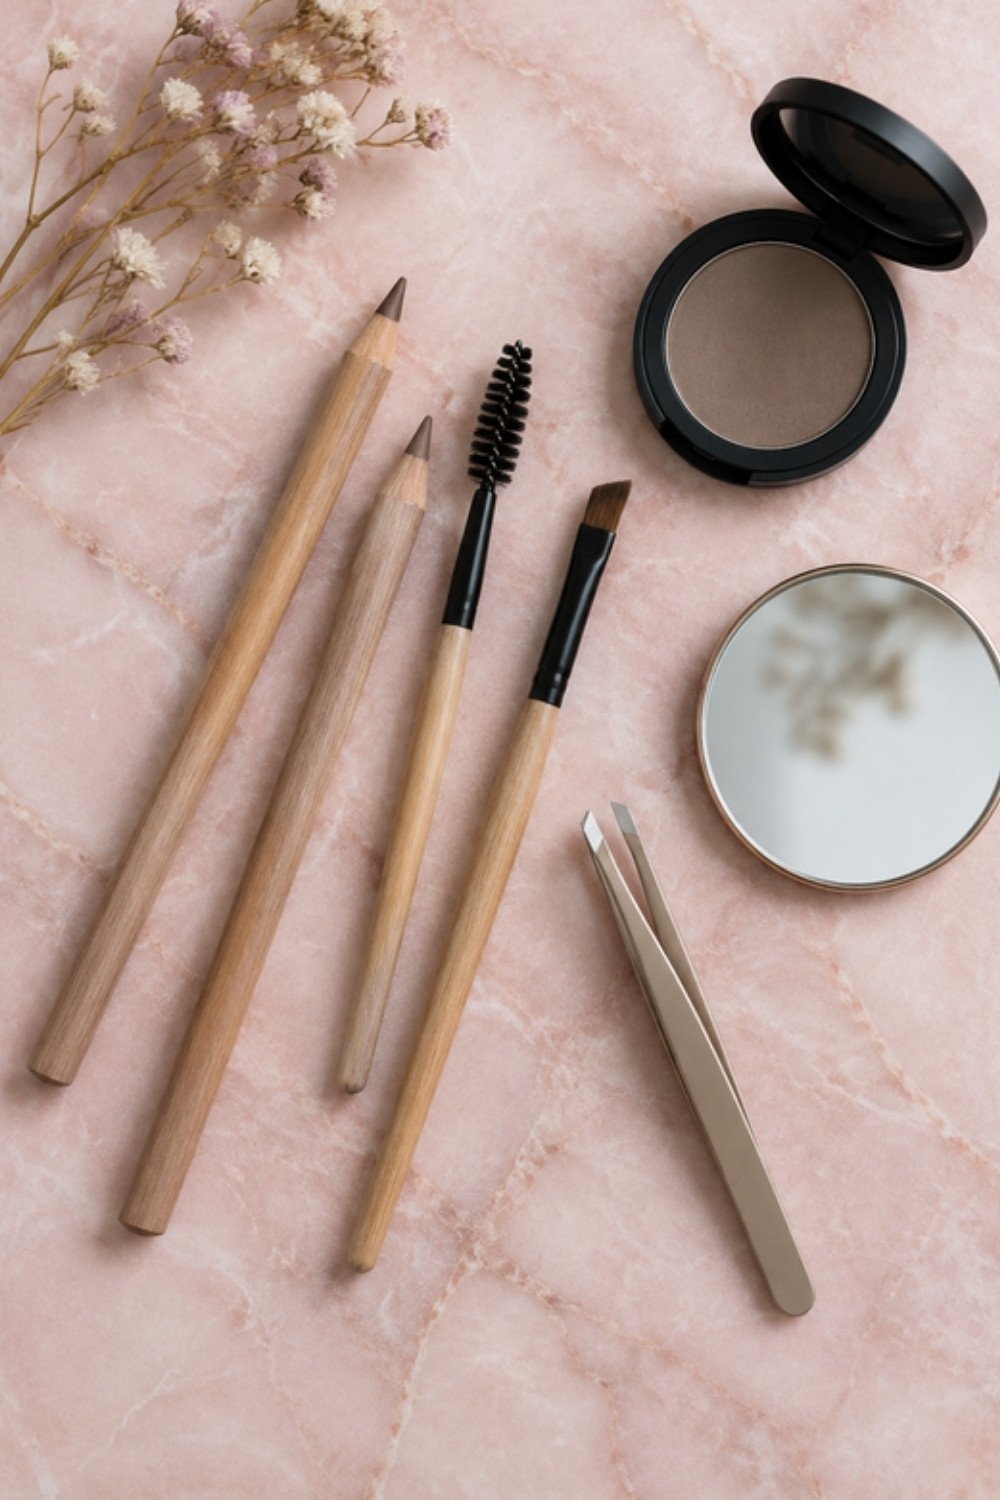
Shade: match your brow hair; with dark hair or graying brows, go one shade lighter and cooler (taupe, ash or soft brown). Tools: a fine brow pencil, a brow powder, a spoolie and a tinted or clear brow gel. Method: brush up, map start, arch and end, line the lower edge lightly, fill gaps with short upward strokes, keep the front softest, set with gel. Sparse or gray brows: lighter pressure, a gently lifted tail, no hard outline and no permanent dye at home.
The Natural Makeup Cheat Sheet
10 natural makeup rules, a lift placement map for concealer, blush and highlighter, a 3-step hooded-eye guide, a 5-minute everyday face and a makeup bag audit.
Send me the free cheat sheet →In This Guide
- Why brows get thinner
- Eyebrow makeup tools: what each one does
- How to choose your brow shade
- Step 1: Map your brows
- Steps 2 to 8: How to fill in eyebrows
- Pencil, powder or pomade: three mini tutorials
- Sparse or thinning brows: the adjustments that matter
- Four brow looks, from barely there to defined
- Common brow mistakes and quick fixes
- Brow products worth having
- Brow safety and healthy brows
- FAQ
Why Brows Get Thinner and Sparser
Knowing why your brows look different makes it easier to fill them in naturally:
- Natural thinning. Cleveland Clinic notes that brows naturally lose some hair over time. The outer third of the brow (the tail) is often the first to look sparse.
- Years of plucking. According to Cleveland Clinic, frequent plucking can damage the hair and even cause scarring, so some hairs don’t grow back.
- Gray and white hairs. Brow hairs lose pigment just like the hair on your head, which makes brows look lighter, patchy or “missing” even when hairs are there.
- Lower-sitting brows and lids. As skin around the eyes loses firmness, brows can look flatter and lids can look more hooded. Brow placement can visually lift the eye area.
- Slow regrowth. Cleveland Clinic explains that the eyebrow growth cycle is three to four months, so if you stop tweezing, expect to wait at least two to three months to see new growth.
The goal of natural brow makeup isn’t a bold, Instagram brow. It’s to replace what’s missing so your brows frame your eyes the way they used to.
Eyebrow Makeup Tools: What Each One Does
| Tool | What it does | Best for | Watch out for |
|---|---|---|---|
| Fine or micro brow pencil | Draws thin, hair-like strokes | Gaps, sparse tails, realistic hairs | Pressing hard; keep it light and sharp |
| Brow powder | Soft, diffused color | Filling the overall shape, soft fronts, oily lids | Can look flat on its own; pair with a few pencil strokes |
| Pomade | Creamy, long-wearing color applied with a brush | Defined or long-wear brows, very sparse brows | Easy to overdo; wipe the brush first |
| Tinted brow gel | Colors and sets hairs at once | Gray or light brow hairs, fuller-looking brows | Too much on the wand clumps; wipe it on the tube |
| Clear brow gel | Holds hairs in place | Unruly or long brow hairs, setting your makeup | None; a clean spoolie with a little gel works too |
| Spoolie | Brushes and blends | Every step: before, during and after | Wash it weekly |
| Angled brush | Applies powder or pomade | Crisp lower edge, soft fill | Too much product on the brush |
| Concealer and a flat brush | Cleans up edges, brightens under the arch | Finishing, fixing mistakes | Heavy concealer can look like a stripe; blend well |
If you buy only two things, choose a fine brow pencil and a tinted brow gel. The pencil fills the gaps and the gel colors gray hairs and makes brows look fuller in one swipe.
How to Choose Your Brow Shade
Clinique’s brow guide suggests picking a pencil in your natural brow color or slightly darker. For thinning or graying brows, many makeup artists flip that rule for dark hair and gray brows, because a slightly lighter, cooler shade looks softer. Use this as a starting point:
| Your hair and brows | Try | Avoid |
|---|---|---|
| Black or very dark brown | Dark brown or soft charcoal, one shade lighter than your hair | Jet black (looks harsh) |
| Medium brown | Medium or ash brown | Warm, reddish browns |
| Light brown or dark blonde | Taupe or light ash brown | Dark brown (looks heavy) |
| Blonde | Taupe or soft blonde, one to two shades darker than your hair | Red undertones, unless you’re strawberry blonde |
| Red or auburn | Soft auburn or warm taupe | Cool gray (looks dull) |
| Gray, silver or white | Soft gray, ash taupe or light ash brown | Dark brown or black (looks drawn on) |
| Salt-and-pepper brows | Taupe pencil plus a tinted gel close to your darker hairs | Matching only the gray or only the dark |
Test shades in daylight on the back of your hand, then on the tail of one brow. If it looks like a line rather than hair, it’s too dark or too warm.
Step 1: Map Your Brows
Mapping takes 30 seconds and stops you from drawing brows that are too long, too short or arched in the wrong place. Use the long side of your pencil as a ruler and mark each point with a tiny dot.
- Start: hold the pencil straight up against the side of your nose. Where it crosses your brow is where the brow should begin. Clinique’s mapping method lines the start up with the outer edge of the nose.
- Arch: angle the pencil from the side of your nose through the outer edge of your iris (look straight ahead). Where it crosses your brow is your high point.
- End: angle the pencil from the side of your nose to the outer corner of your eye. That’s where the tail should finish.
- Check the tail height: the end of the tail should sit at about the same level as the start, or slightly higher. A tail that drops below the start makes eyes look tired.
Map both brows before you fill either one. Then work back and forth between them, a few strokes at a time. Brows are sisters, not twins, and alternating keeps them balanced without chasing perfect symmetry.
Steps 2 to 8: How to Fill in Eyebrows
This is the core of the eyebrow makeup tutorial. It works with a pencil alone or a pencil plus powder.
- Prep (Step 2). Let moisturizer and eye cream sink in, and keep foundation and concealer off the brow hairs, or brush them clean. Product on the hairs makes pencil skip and powder patchy.
- Brush up (Step 3). Brush the hairs up and slightly out with a spoolie. Now you can see the true shape and every gap.
- Draw the lower edge (Step 4). With light pressure, draw a soft line along the underside of the brow from below the arch to the tail. This creates lift. Leave the front alone for now.
- Define the tail (Step 5). Connect the lower line to your end dot, then sketch the top of the tail, tapering to a fine point. The tail should be the most defined part of your brow.
- Fill the gaps with strokes (Step 6). Using short, flicking strokes in the direction your hair grows, fill sparse areas through the middle and tail. Strokes go up at the front, then up and out, then out and slightly down at the tail.
- Soften the front (Step 7). The front of the brow should be the lightest part. Brush leftover product from the spoolie into the front, or add a few feathery upward strokes. Never draw a box shape at the start.
- Blend and set (Step 8). Brush through the whole brow with the spoolie to soften lines, then comb tinted or clear gel up and out. Finish with a little concealer under the arch on a flat brush to sharpen the shape and lift the eye.
Pencil, Powder or Pomade: Three Mini Tutorials
How to fill in eyebrows with a pencil (most natural)
- Use a fine, sharp pencil and hold it toward the end, not near the tip. That lightens your pressure automatically.
- Draw strokes about the length of a real brow hair, never one long line.
- Build in layers: a few strokes, brush, look, then add more only where needed.
- Best for: sparse tails, gaps and anyone who wants brows that look like hair.
How to fill in eyebrows with powder (softest)
- Tap an angled brush in the powder, then tap off the excess.
- Press and sweep color through the middle and tail, then use what’s left on the brush for the front.
- Add three or four pencil strokes in the biggest gaps so the brow doesn’t look flat.
- Best for: oily lids, full but light brows, a soft daytime look.
How to fill in eyebrows with pomade (most defined)
- Use a firm angled brush and wipe off almost all the product on the back of your hand first.
- Start at the tail, where you want the most color, and work toward the front with what’s left.
- Spoolie immediately before it sets.
- Best for: very sparse brows, long days, humid weather, evening looks.
Free: the Natural Makeup Cheat Sheet
Where to place blush and highlighter, a hooded-eye guide, a 5-minute everyday face and a makeup bag expiry chart, on 10 printable pages.
Free. You will also get a few short emails with tips and offers. Unsubscribe anytime. Privacy policy.
Sparse or Thinning Brows: The Adjustments That Matter
The basic technique is the same for everyone, but these small changes make a big difference on sparse or thinning brows:
| If your brows are… | Do this |
|---|---|
| Sparse at the tail | Rebuild the tail with fine strokes to your end dot; keep it tapered and slightly lifted |
| Gray or white | Tinted brow gel first to color hairs, then pencil only in gaps; soft gray or taupe shades |
| Thin overall | Powder for overall shape, pencil strokes on top, tinted gel to add fullness |
| Flat or low-arched | Add a few strokes on top of the arch and line the lower edge just below the arch to create lift |
| Over a hooded lid | Keep the tail slightly lifted and the brow not too thick; concealer under the arch opens the lid space |
| Long and unruly | Clear gel up and out; trim only the longest hairs, one at a time, with small scissors |
| Uneven | Raise the lower brow with strokes on top; never lower the higher one |
Three more rules for sparse or thinning brows:
- Lighter pressure, lighter shade. Sparse brows show every hard line. Soft strokes look like hair; a heavy hand looks like makeup.
- Skip the magnifying mirror for checking. Fill brows close up if you need to, then check from arm’s length in daylight. That’s how everyone else sees them.
- Don’t over-highlight. A shimmer stripe under the brow can emphasize crepey lids. Use a matte concealer just under the arch instead.
Four Brow Looks, From Barely There to Defined
Clinique’s brow guide describes several finishes that are easy to adapt. Here are four that suit sparse or thinning brows:
1. Natural (2 minutes)
Brush up, fill only the obvious gaps with a few pencil strokes, and comb through tinted gel. Perfect for weekends and no-makeup makeup.
2. Lifted (3 to 4 minutes)
Short, feathery strokes under the inner brow and on top of the arch, a defined lower edge from arch to tail, and concealer under the arch. This is the most “eye-opening” look.
3. Soft and full (4 to 5 minutes)
Powder through the whole brow, pencil strokes in the front and on the underside of the arch, a slightly thicker tail, then tinted gel brushed upward.
4. Defined (5 minutes)
Pomade or pencil for a crisp lower line and tail, powder fill, clear gel to set, and concealer to clean the edges. Best for evenings, photos and events.
Related ReadSimple Everyday Makeup That Feels FreshCommon Brow Mistakes and Quick Fixes
| Mistake | Why it happens | Quick fix |
|---|---|---|
| Blocky, dark front | Starting the pencil at the front | Start at the arch or tail; spoolie the front until soft |
| Brows too dark | Shade too deep or too much pressure | Brush through with a clean spoolie; dust a little face powder over the brow |
| Drawn-on outline | One continuous line around the shape | Break it up with the spoolie; use strokes, not lines |
| Tail droops down | Following sparse hairs down past the eye | End the tail at or slightly above the level of the start |
| Tail too long | Skipping the mapping step | Stop at the line from your nose to the outer eye corner |
| Patchy or skipping pencil | Foundation, eye cream or oil on the brow hairs | Clean the brows with a cotton swab, let skin dry, then refill |
| Brows fade by afternoon | Oily skin, no setting step | Powder over pencil, then gel; or switch to pomade |
| Small slip outside the shape | Shaky hand or heavy pressure | A dry cotton swab, or concealer on a flat brush |
Brow Products Worth Having
You don’t need a full brow kit. Pick based on your brows and the finish you like.
Micro Brow Pencil
A very fine tip lets you draw single hairs. Look for one with a spoolie on the other end so you can brush as you go.
Check on Amazon →Tinted Brow Gel
Colors each hair and holds the shape in one step. One of the easiest ways to make brows look fuller.
Check on Amazon →Brow Powder Duo
Two shades let you use the lighter one at the front and the deeper one through the tail.
Check on Amazon →Brow Pomade and Angled Brush
Creamy, budge-proof color. Wipe the brush first and build slowly.
Check on Amazon →Spoolies and Angled Brushes Set
Inexpensive spare spoolies mean you can always use a clean one.
Check on Amazon →Slant-Tip Tweezers and Brow Scissors
Cleveland Clinic suggests angled tweezers rather than wide, flat ones, and plucking after a shower when hairs come out more easily.
Check on Amazon →Brow Safety and Healthy Brows
Keep brow makeup clean
- Don’t share eye or brow products. The FDA warns against sharing or swapping eye cosmetics, even with a best friend, because germs can be passed along.
- Use single-use applicators for testers in stores.
- Wash your hands and tools. The FDA recommends keeping anything that goes near your eyes clean. Wash spoolies and brushes weekly and sharpen pencils before use.
- Toss products after an eye infection. The FDA advises discarding eye cosmetics you were using when you got the infection.
- Check color additives. The FDA notes that some color additives approved for cosmetics are not approved for use around the eyes.
Never use hair dye on your brows
The FDA warns that permanent eyelash and eyebrow tints and dyes have caused serious eye injuries, including blindness, and that only specific professional-use products are permitted for coloring lashes and brows. Hair dye made for your head is not one of them. If you want tinted brows, tinted gel is the safest at-home option.
Thinking about microblading?
Microblading is a form of cosmetic tattoo. WebMD notes that the color usually lasts about a year and lists possible risks including infection, allergic reactions, granulomas and keloids. If you go ahead, choose a licensed, experienced technician, ask about new needles and sterile equipment, and tell your doctor or radiologist about it before an MRI.
Help sparse brows grow back
- Put the tweezers down. Over-plucking can stop hairs from regrowing. Pluck only obvious strays, after a shower, with angled tweezers.
- Be patient. With a three- to four-month growth cycle, give brows at least two to three months.
- See a dermatologist if brows are thinning quickly, falling out in patches, or haven’t improved after about four months. Cleveland Clinic notes there are medical treatments a dermatologist can discuss.
Eyebrow Makeup Tutorial Checklist
- Pick a shade: match your brows, or one shade lighter and cooler if dark or gray
- Keep skincare and foundation off the brow hairs
- Brush hairs up with a spoolie
- Map start, arch and end with your pencil
- Line the lower edge lightly from arch to tail
- Define and lift the tail
- Fill gaps with short, upward strokes
- Keep the front softest
- Blend with a spoolie and set with gel
- Concealer under the arch; check in daylight at arm’s length
- No hair dye on brows; wash tools weekly
The Natural Makeup Playbook
A profile quiz, foundation and concealer that don’t settle into lines, lift placement maps, eye maps for hooded and crepey lids, brows and lips, 5/10/20-minute routines, day-to-evening looks, a troubleshooting table and printable face charts. Instant access.
See the Playbook ($19) →Frequently Asked Questions
How do I fill in my eyebrows naturally?
Brush the hairs up, map your shape, then use a fine pencil to draw short, hair-like strokes only in sparse areas. Keep the front lightest, blend with a spoolie and set with a tinted or clear brow gel.
Should my brow pencil be lighter or darker than my hair?
Match your brow hair if it’s light to medium. If you have very dark hair, or your brows are graying, one shade lighter and slightly cooler usually looks softer and more natural.
What is the best eyebrow product for sparse brows?
For most women, a fine brow pencil plus a tinted brow gel. The pencil fills gaps with realistic strokes, and the gel colors gray hairs and makes brows look fuller.
Where should my eyebrows start and end?
They should start in line with the side of your nose and end on a line from the side of your nose to the outer corner of your eye. The arch sits on a line from the side of your nose through the outer edge of your iris.
How do I fill in gray eyebrows?
Use a tinted brow gel first to color the gray hairs, then fill gaps with a soft gray, taupe or light ash brown pencil. Avoid dark brown or black, which looks drawn on.
Why does my brow pencil skip or look patchy?
Usually because moisturizer, eye cream or foundation is on the brow hairs. Clean them with a cotton swab, let skin dry and try again, or set the pencil with a little powder.
Can I tint my eyebrows at home with hair dye?
No. The FDA warns that permanent tints and dyes have caused serious eye injuries. Use tinted brow gel instead, or ask a professional about safe options.
Sources: Clinique, Achieve your ideal eyebrow look: A beginner’s guide to brows; Cleveland Clinic, 5 ways to get overplucked eyebrows to grow back; U.S. Food and Drug Administration, Eye cosmetic safety; WebMD, Microblading health risks. Veranoz has not tested every product listed. See a dermatologist for sudden or patchy brow loss, and an eye doctor for any eye irritation after using makeup.
Get the Free Self-Care Reset Kit
Daily, weekly and monthly self-care checklists, the everything shower order, a 3-hour at-home spa day plan and a 30-day reset tracker. Free printable, instant access.
The Veranoz 30-Day Glow-Up Planner
Routines only work when you actually keep them. The planner gives you daily planning pages, weekly resets and habit trackers so your skincare, body care and self-care steps become automatic instead of something you remember once in a while.
Veranoz Guides to Go Deeper
Some links on Veranoz are affiliate links; we may earn a commission at no extra cost to you. This content is informational and not medical advice.