

Disclosure: As an Amazon Associate, Veranoz earns from qualifying purchases. We may earn a commission if you buy through links in this post, at no extra cost to you.
Makeup for beginners comes down to six products and one rule: start with the steps that make the biggest difference (tinted sunscreen, concealer, blush, brows, mascara and a tinted lip), apply them in thin layers in the right order, and practice the same routine for two weeks before you add anything new. You don’t need a 30-piece brush set, contour or a giant palette. This guide walks you through what each product does, what to buy first, how to match shades, a step-by-step makeup tutorial for beginners, and a simple practice plan.
Free: the Natural Makeup Cheat Sheet
Where to place blush and highlighter, a hooded-eye guide, a 5-minute everyday face and a makeup bag expiry chart, on 10 printable pages.
Free. You will also get a few short emails with tips and offers. Unsubscribe anytime. Privacy policy.
It’s written for two kinds of beginners: women who have never really worn makeup, and women who used to and now find their old routine doesn’t work on their skin anymore. Both are completely normal places to start.
The Real Problem
Most beginner makeup tutorials are filmed on 20-year-old skin with ring lights, a dozen products and techniques like baking and contouring. Copy that on dry or textured skin and makeup can look heavy, settle into lines and take half an hour. Skin changes with age: MedlinePlus explains that the outer layer thins and oil glands make less oil over time, so skin is drier and more delicate. A beginner routine for this skin needs fewer, creamier products, a lighter hand and gentler tools. That’s actually good news: it’s easier to learn.
Short Answer
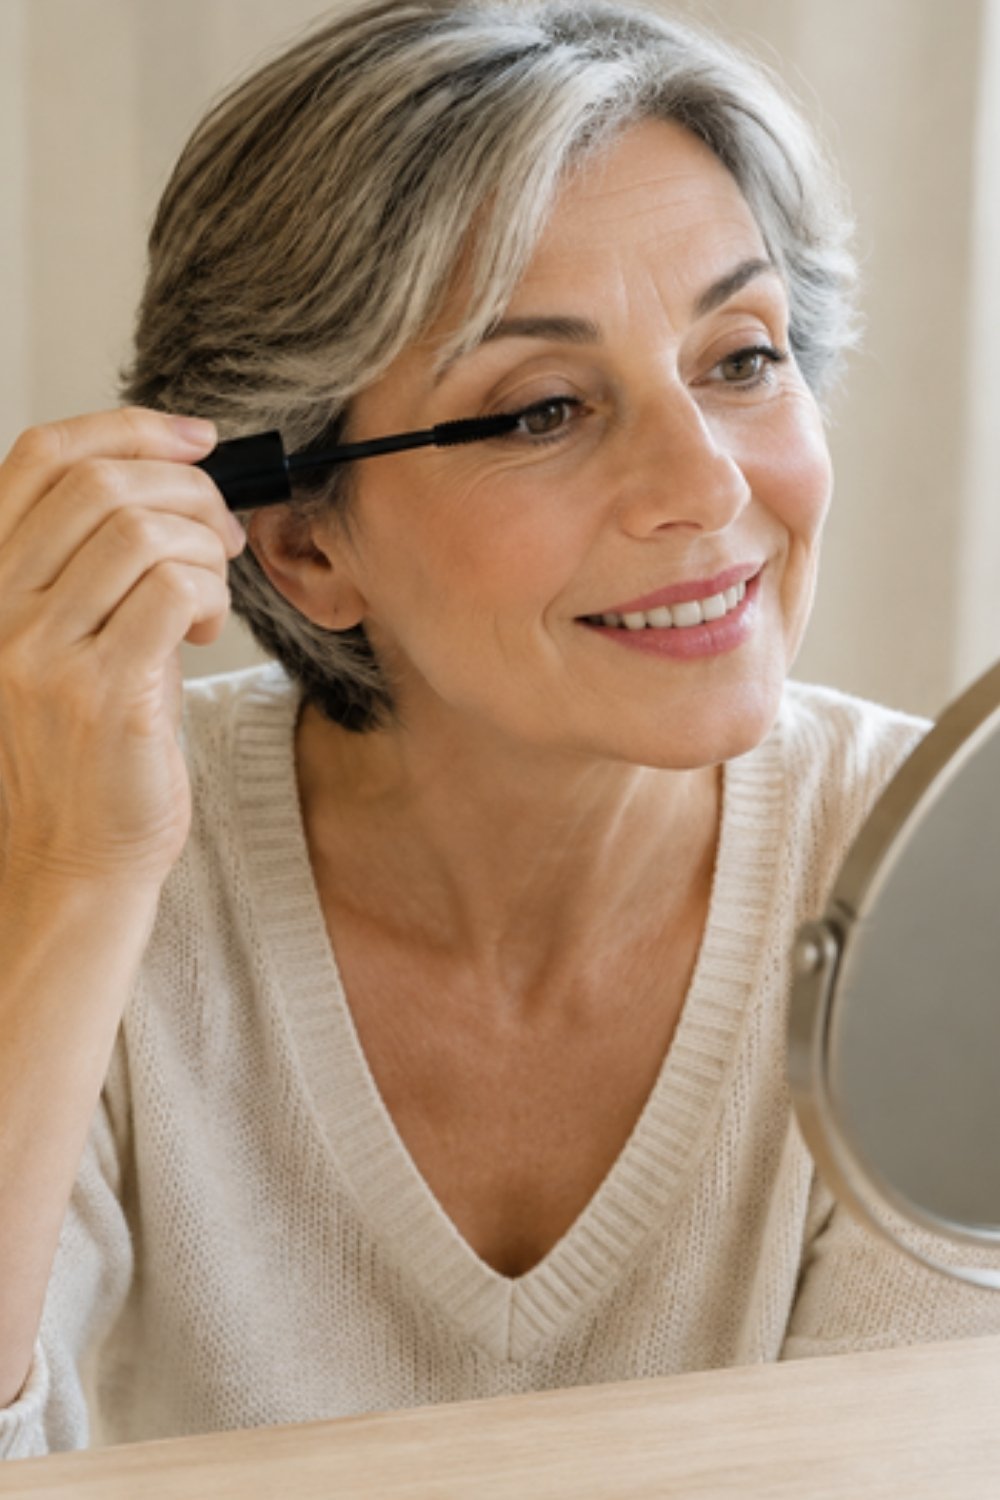
Buy first: a tinted sunscreen or skin tint, a creamy concealer, a cream blush, a tinted brow gel, a mascara and a tinted lip balm. Apply in this order: skincare and sunscreen, base, concealer, blush, brows, mascara, lips. Use your fingers for creams and one small brush for powder if you need it. Practice the same 10-minute routine daily for two weeks, then add one new step at a time (eyeshadow, bronzer or liner).
The Makeup Cheat Sheet
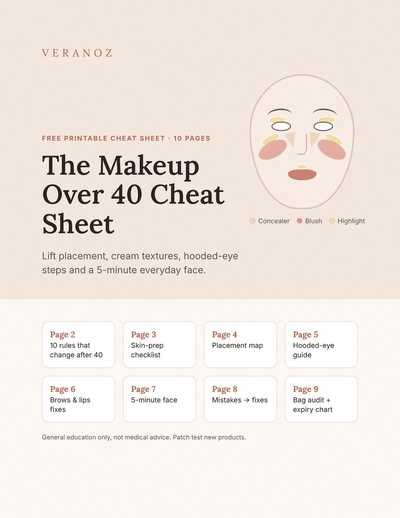
The 10 makeup rules for drier, textured skin, a lift placement map for concealer, blush and highlighter, a 3-step hooded-eye guide, a 5-minute everyday face and a makeup bag audit.
Send me the free cheat sheet →In This Guide
- Makeup words, explained
- What to buy first (in three waves)
- Tools: fingers, sponge or brush?
- How to match your shade
- Prep your skin
- Step-by-step makeup tutorial for beginners
- Easy eyes for beginners
- A 2-week practice plan
- How to remove makeup
- Beginner makeup product types
- Beginner mistakes and quick fixes
- Makeup safety basics
- FAQ
Makeup Words, Explained
Half the confusion in the beauty aisle is vocabulary. Here’s what each product actually does, in plain language, and whether a beginner needs it.
| Product | What it does | Beginner needs it? |
|---|---|---|
| Primer | A layer between skincare and base that blurs pores or helps makeup grip | No. Moisturizer and sunscreen usually do the job |
| Skin tint / tinted moisturizer | Sheer color that evens tone but lets skin show through | Yes, or a tinted sunscreen |
| Foundation | More coverage than a tint; comes in sheer, medium and full | Optional; start sheer if you want it |
| Concealer | Thicker coverage for small areas: dark circles, redness, spots | Yes |
| Color corrector | Peach, orange or green tones that cancel out dark or red areas | Later, only if concealer alone isn’t enough |
| Setting powder | Fine powder that reduces shine and helps makeup stay put | Only if you get shiny |
| Blush | Color on the cheeks for a healthy, awake look | Yes. Highest impact per second |
| Bronzer | Adds warmth where the sun would naturally hit | Later, optional |
| Contour | A cool shadow shade to sculpt; easy to overdo | No (it’s an advanced step) |
| Highlighter | Shimmer that catches light on high points | No; can emphasize texture on dry skin |
| Brow gel / pencil | Shapes, holds and tints brows | Yes, one of the two |
| Eyeshadow | Color or depth on the eyelid | Later; one neutral shade is enough |
| Eyeliner | Defines the lash line | Later; a soft pencil is easiest |
| Mascara | Darkens and lengthens lashes | Yes |
| Tinted balm / lipstick | Color and comfort on the lips | Yes |
Notice how few “yes” rows there are. That’s the whole idea: a beginner routine is about six products, not sixteen.
Related: How to wash makeup brushes properly
What to Buy First: Makeup for Beginners in Three Waves
Buying everything at once is how makeup drawers fill up with mistakes. Buy in waves, and only move to the next wave once you’re using everything in the current one comfortably.
Wave 1: the essentials (start here)
- Tinted sunscreen or skin tint. Evens tone and, if it’s a sunscreen, protects your skin in the same step.
- Creamy concealer in your exact skin shade.
- Cream blush in a soft rose or peach (or a deeper berry or brick on deeper skin tones).
- Tinted brow gel. The easiest brow product for beginners: one swipe, no drawing.
- Mascara in black-brown or brown-black for a softer look than jet black.
- Tinted lip balm a shade or two deeper than your natural lips.
Wave 2: polish (after about two weeks)
- One neutral eyeshadow (taupe, soft brown or warm beige) in a matte or soft-satin finish.
- A soft brown pencil eyeliner for gently defining the lash line.
- Translucent setting powder if you get shiny by midday.
- A sheer lipstick for days you want a little more color.
Wave 3: extras (only if you want them)
- Cream bronzer for warmth.
- A peach or orange color corrector for very dark under-eye circles or dark spots.
- Lip liner if lipstick bleeds into fine lines.
- A small eyeshadow palette with two or three matte neutrals.
Write the date you opened each product on the bottom with a marker. The FDA notes cosmetics aren’t legally required to carry expiration dates, so marking the opening date is the easiest way to know when to replace them.
Tools: Fingers, Sponge or Brush?
Beginners don’t need a brush collection. Clean fingertips are the best tool for most cream products: your skin’s warmth helps them melt in, and you can feel exactly where product is going.
| Tool | Best for | Beginner tip |
|---|---|---|
| Fingertips | Skin tint, concealer, cream blush, lip balm | Use your ring finger under the eyes; it’s the lightest touch |
| Damp makeup sponge | Foundation, blending edges, soaking up excess | Dampen and squeeze it out completely; bounce, don’t wipe |
| Small fluffy brush | Setting powder, powder blush | Tap off excess on the back of your hand first |
| Small eyeshadow brush | Shadow in the crease or along the lash line | Optional; a fingertip works for one-shade looks |
| Spoolie (brow brush) | Brushing brows, softening pencil | Many brow pencils have one on the end |
Whatever you use, keep it clean. Cleveland Clinic dermatologist Melissa Piliang, MD, recommends washing brushes used with liquid or cream products once a week, eye brushes every two weeks and powder brushes about once a month. Sponges soak up product and moisture, so they need frequent washing too.
How to Match Your Shade
Shade matching only really matters for base and concealer. Blush, brows and lips are far more forgiving.
- Test on your jawline, not your hand or wrist. Your face is often a different color from your hands. Swipe two or three shades along the jaw, from cheek to neck.
- Check in daylight. Step outside or stand by a window. Store lighting is often warm or harsh and can be misleading.
- Wait a few minutes. Some formulas darken slightly or turn a bit warmer as they settle. The right shade is the one that disappears after it dries.
- Find your undertone. If gold jewelry flatters you and veins on your wrist look greenish, you probably have a warm undertone. If silver flatters you and veins look blue or purple, you’re probably cool. A mix of both means neutral. Many brands label shades W, C or N.
- Re-match if you used to wear makeup. Skin can change with age and sun; the shade you wore years ago may not be right now.
- Concealer: match your skin exactly for spots and redness. For under the eyes, you can go half a shade lighter, but not much more, or it can look gray or ashy.
If you’re between two shades of a skin tint, choose the slightly deeper one. A tint that’s a touch too light can look chalky; a touch too deep usually just reads as healthy.
Prep Your Skin First
Makeup only looks as good as the skin under it. You don’t need a long routine. The Cleveland Clinic’s dermatologist-recommended morning order is simple: cleanser, serum if you use one, moisturizer, then sunscreen as the final skincare step.
- Cleanse gently, or just rinse with lukewarm water if your skin is dry.
- Moisturize. Dry patches are the most common reason beginner makeup looks flaky.
- Sunscreen last. The AAD recommends a broad-spectrum, water-resistant SPF 30 or higher for daily use. If your tinted sunscreen is your base, this step and the next are the same.
- Wait a few minutes. Makeup over wet skincare tends to slide or pill. Brush your teeth or make coffee in the meantime.
Our full guide to skincare routine order explains how long to wait and what to do if makeup pills.
Related ReadBest Skincare Routine for BeginnersStep-by-Step Makeup Tutorial for Beginners
This is the core routine. Follow it in order. It takes about 10 minutes at first and 5 to 7 once your hands know it.
Step 1: Base (skin tint or tinted sunscreen)
- Squeeze out a pea-sized amount. That’s usually enough for the whole face; you can always add more.
- Dot it on the forehead, nose, cheeks and chin.
- Blend with your fingertips from the center of the face outward, using light sweeping and pressing motions. Blend down onto the jawline so there’s no line.
- Leave the very edges of the face (hairline, jaw) lighter. Coverage should be strongest where you need it, usually around the nose and the center of the cheeks.
Step 2: Concealer
- Look in the mirror after your base. Only conceal what you still see.
- Under the eyes: one small dot in the inner corner, where shadows are darkest. Not a big triangle.
- Redness or spots: a tiny dot directly on the spot.
- Tap with your ring finger until the edges disappear. Don’t rub; rubbing moves product away from where you need it.
- If it creases, you used too much. Press a clean fingertip over it to lift some away.
Step 3: Cream blush
- Smile slightly to find the top of your cheek, then relax your face.
- Place two small dots on the upper cheekbone, starting roughly below the center of your eye and moving up toward the temple. Placing blush a little higher (rather than on the apples) gives a lifting effect.
- Tap outward and upward with your fingertips until there are no edges.
- Start sheer and build. It’s much easier to add a little more than to take too much away.
Step 4: Brows
- Brush brows straight up, then out toward the tail, with tinted brow gel.
- If you have gaps, use a sharpened pencil to draw tiny, hair-like strokes only in the gaps, in the direction your hairs grow.
- Brush through with a spoolie to soften. Brows should look groomed, not drawn on.
Step 5: Mascara
- Wipe excess off the wand on the edge of the tube. Don’t pump the wand in and out; that pushes air in and dries it out.
- Look down into a mirror held below your face. This makes the lid flat and keeps you from blinking onto your brow bone.
- Place the wand at the base of your upper lashes and wiggle it side to side, then sweep upward.
- One coat is enough for daytime. Skip the lower lashes if mascara tends to smudge.
Step 6: Lips
- Apply tinted balm straight from the tube.
- For a little more definition, press your lips together and blot on a tissue, then reapply.
Step 7 (optional): Powder
If you get shiny, tap a small fluffy brush into translucent powder, tap off the excess, and press it lightly onto the sides of the nose, the chin and the center of the forehead. Skip the cheeks and under-eyes if your skin is dry; powder there can emphasize texture.
That’s it. Once this routine feels easy, our everyday makeup routine shows how to turn it into 5-, 10- and 15-minute versions.
Easy Eyes for Beginners
When mascara alone feels too simple, add these one at a time.
One-shade eyeshadow
- Pick a matte or soft-satin neutral a little deeper than your skin tone.
- Swipe it across the lid with your fingertip, from lash line up to just above the crease.
- Blend the top edge with a clean finger until it fades into your skin.
Matte and soft-satin finishes are easiest on textured lids; big shimmer and glitter can make crepey texture more visible.
Soft pencil liner
- Use a soft brown, gray or charcoal pencil, not liquid liner.
- Instead of drawing a line, make small dashes between the upper lashes, then smudge them together with a cotton swab or fingertip.
- Keep it to the outer two-thirds of the upper lash line for a lifting effect.
If your lids are hooded, liner can disappear when your eyes are open. Keep it thin and close to the lashes, and check with your eyes open, looking straight ahead.
Free: the Natural Makeup Cheat Sheet
Where to place blush and highlighter, a hooded-eye guide, a 5-minute everyday face and a makeup bag expiry chart, on 10 printable pages.
Free. You will also get a few short emails with tips and offers. Unsubscribe anytime. Privacy policy.
A 2-Week Makeup Practice Plan
Confidence with makeup comes from repetition. This plan adds one step every couple of days so nothing feels overwhelming.
| Days | What to practice | Goal |
|---|---|---|
| 1 to 2 | Skincare, sunscreen, tinted base | Even, blended base with no line at the jaw |
| 3 to 4 | Add concealer | Coverage only where needed, no creasing |
| 5 to 6 | Add cream blush | Soft color you can’t see the edges of |
| 7 to 8 | Add brows | Groomed, natural-looking brows |
| 9 to 10 | Add mascara and lips | The full 6-step routine in about 10 minutes |
| 11 to 12 | Full routine, timed | Under 10 minutes without rushing |
| 13 to 14 | Full routine plus one optional step (shadow or liner) | Decide what you actually want to keep |
Practice on a quiet morning or evening when you’re not leaving the house. Take a photo by a window each day; it’s much easier to see progress in photos than in the mirror.
Related ReadHow to Build a Beauty Routine That SticksHow to Remove Makeup
Taking makeup off properly is part of the routine, especially on drier, thinner skin.
- Eyes first. Hold a cotton pad soaked in a gentle eye makeup remover or micellar water on closed eyes for 10 to 20 seconds, then wipe down gently. No scrubbing.
- Face next. A gentle cleanser removes a skin tint. For longer-wear foundation or sunscreen, use a cleansing balm or oil first, then your regular cleanser.
- Pat dry and moisturize. Follow with your night skincare.
Never sleep in makeup, especially mascara. Rubbing tired eyes with mascara on is a common cause of irritation and lash breakage.
Beginner Makeup Product Types Worth Having
These are the product types from Wave 1. Look for creamy, flexible formulas and buildable coverage.
Skin Tint or Tinted Moisturizer
Forgiving to apply with fingers and hard to get wrong. Choose one with SPF if you want a two-in-one, but still use enough sunscreen.
Check on Amazon →Cream Blush
If you buy only one color product, make it this. Cream textures melt into skin and look natural even when you’re still learning.
Check on Amazon →Creamy Concealer
A hydrating formula is less likely to crease on drier skin. Buy your exact skin shade first.
Check on Amazon →Tinted Brow Gel
The easiest brow product to learn. It tints and holds hairs in one step.
Check on Amazon →Lengthening Mascara
Lengthening formulas are easier to apply cleanly than heavy volumizing ones.
Check on Amazon →Beginner Makeup Sponge and Brush Set (Small)
One sponge plus a powder brush and a small eyeshadow brush is all a beginner needs. Avoid huge sets you won’t use.
Check on Amazon →Beginner Makeup Mistakes and Quick Fixes
| Mistake | What it looks like | Quick fix |
|---|---|---|
| Too much base | Heavy, mask-like, settles into lines | Use half the amount; blot with a damp sponge |
| Concealer too light | Gray or ashy under the eyes | Match your skin; go no more than half a shade lighter |
| Blush too low or too bright | Drags the face down or looks clownish | Place higher, toward the temples; blend with a clean sponge |
| Brows drawn as a solid line | Harsh, “drawn-on” look | Hair-like strokes only in gaps; brush through |
| Mascara clumps | Spidery lashes | Wipe the wand first; one coat; comb through while wet |
| Powder everywhere | Dry, textured, emphasizes lines | Powder only where you shine |
| Matching base on your hand | Line at the jaw, face a different color from the neck | Re-test on the jawline in daylight |
| Buying a huge kit | Overwhelm; nothing gets used | Six products for two weeks first |
For more technique once you’ve mastered the basics, see our more makeup tips and tricks.
Makeup Safety Basics
- Wash your hands before you start. Both the FDA and dermatologists list this first, especially for anything near the eyes.
- Don’t share makeup, and use single-use applicators on store testers.
- Replace mascara about every three months. The FDA says manufacturers usually recommend discarding it two to four months after purchase. Never add water or saliva to dried mascara.
- Throw out products that change in color, smell or texture.
- Stop if you react. The FDA advises stopping any product that causes a rash, redness or burning and contacting your healthcare provider. “Hypoallergenic” has no official definition, so it isn’t a guarantee.
- Use eye products only on the eyes. The FDA specifically warns against using lip liner as eyeliner, and against applying eye makeup in a moving vehicle.
- Store makeup away from heat (the FDA says not above 85°F), and keep lids closed.
Makeup for Beginners Checklist
- Wave 1 only: tinted base, concealer, cream blush, brow gel, mascara, tinted balm
- Match base and concealer on the jawline, in daylight
- Moisturizer and sunscreen first; wait a few minutes
- Pea-sized base, blended from the center out
- Concealer only where you still see shadow or redness
- Blush high on the cheekbones, tapped out
- Brows brushed up; pencil only in gaps
- One coat of mascara, wiggled at the root
- Practice the same routine for 2 weeks before adding anything
- Remove makeup every night; wash tools on a schedule
The Makeup Playbook
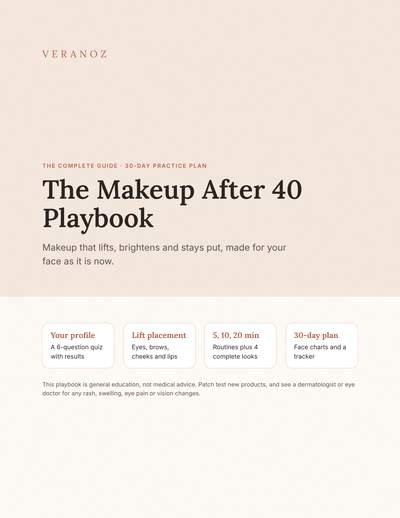
A profile quiz, foundation and concealer that don’t settle into lines, lift placement maps, eye maps for hooded and crepey lids, brows and lips, 5/10/20-minute routines, day-to-evening looks, a troubleshooting table and printable face charts. Instant access.
See the Playbook ($19) →Frequently Asked Questions
What makeup should a beginner buy first?
A tinted sunscreen or skin tint, a creamy concealer, a cream blush, a tinted brow gel, a mascara and a tinted lip balm. Those six products cover a complete everyday look. Add eyeshadow, liner and powder later.
What is the correct order to apply makeup for beginners?
Skincare and sunscreen, base, concealer, blush, brows, mascara and lips, with powder last if you need it. Creams go before powders.
Is it too late to start wearing makeup?
Not at all. Many women start or restart at any stage of life. Choose creamy, sheer products, keep layers thin and focus on blush, brows and mascara, which make the biggest difference.
Do beginners need primer?
Usually not. A moisturizer and sunscreen that suit your skin are enough prep for a skin tint. Try primer later only if makeup doesn’t last or pores bother you.
Should I use brushes or fingers as a beginner?
Fingers for cream products (skin tint, concealer, cream blush), and one small fluffy brush for powder if you use it. A damp sponge helps if you move on to foundation.
How do I find my foundation shade?
Swipe two or three shades on your jawline, check them in daylight after a few minutes, and pick the one that disappears. If you’re between shades in a sheer tint, the slightly deeper one usually looks more natural.
How long does it take to get good at makeup?
Most people feel comfortable with a simple routine after about two weeks of daily practice. Repetition matters more than talent or tools.
Sources: MedlinePlus (NIH), Aging changes in skin; Cleveland Clinic, The right order to apply skin care products; American Academy of Dermatology, How to apply sunscreen; Cleveland Clinic, How often should you clean your makeup brushes?; U.S. Food and Drug Administration, Eye cosmetic safety; U.S. Food and Drug Administration, Using cosmetics safely; Mayo Clinic Health System, Risks of using expired makeup. Veranoz has not tested every product listed. This guide is general information; see a board-certified dermatologist for skin or eye reactions.
Get the Free Self-Care Reset Kit
Daily, weekly and monthly self-care checklists, the everything shower order, a 3-hour at-home spa day plan and a 30-day reset tracker. Free printable, instant access.
The Veranoz 30-Day Glow-Up Planner
Routines only work when you actually keep them. The planner gives you daily planning pages, weekly resets and habit trackers so your skincare, body care and self-care steps become automatic instead of something you remember once in a while.
Veranoz Guides to Go Deeper
Some links on Veranoz are affiliate links; we may earn a commission at no extra cost to you. This content is informational and not medical advice.